No need for anger... lol I just worked on the bmp I got from Mario... and I was just joking... didn't think it was in bad taste man!!!
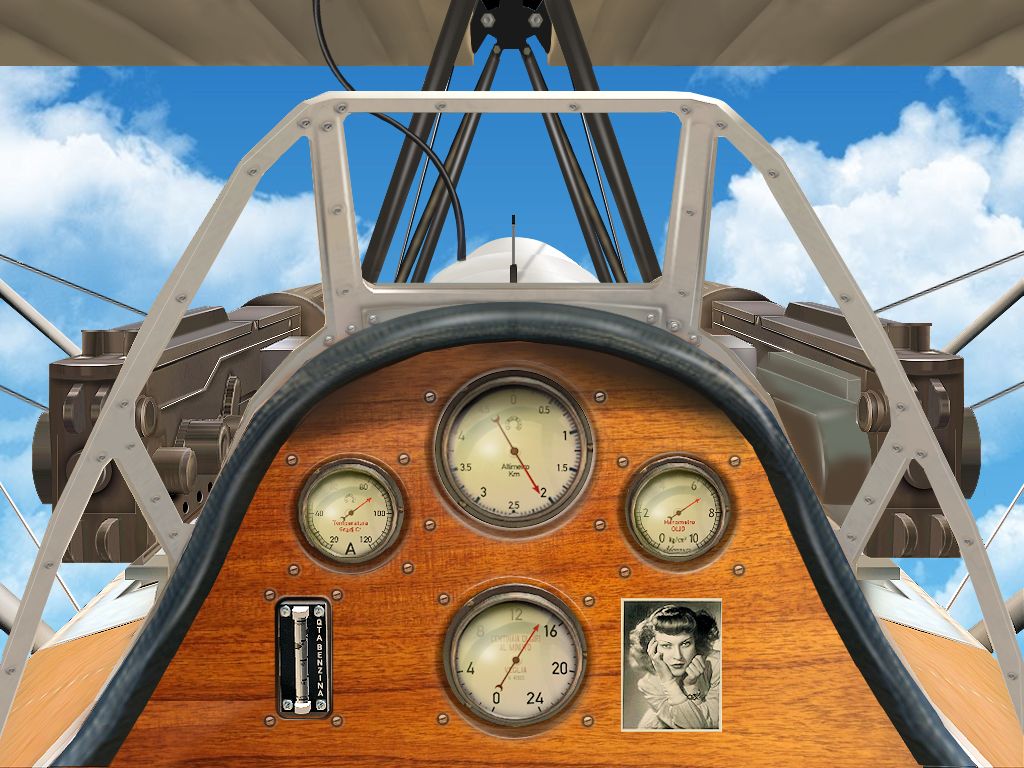
If you allow me... I will use your gramma's pic...
btw...
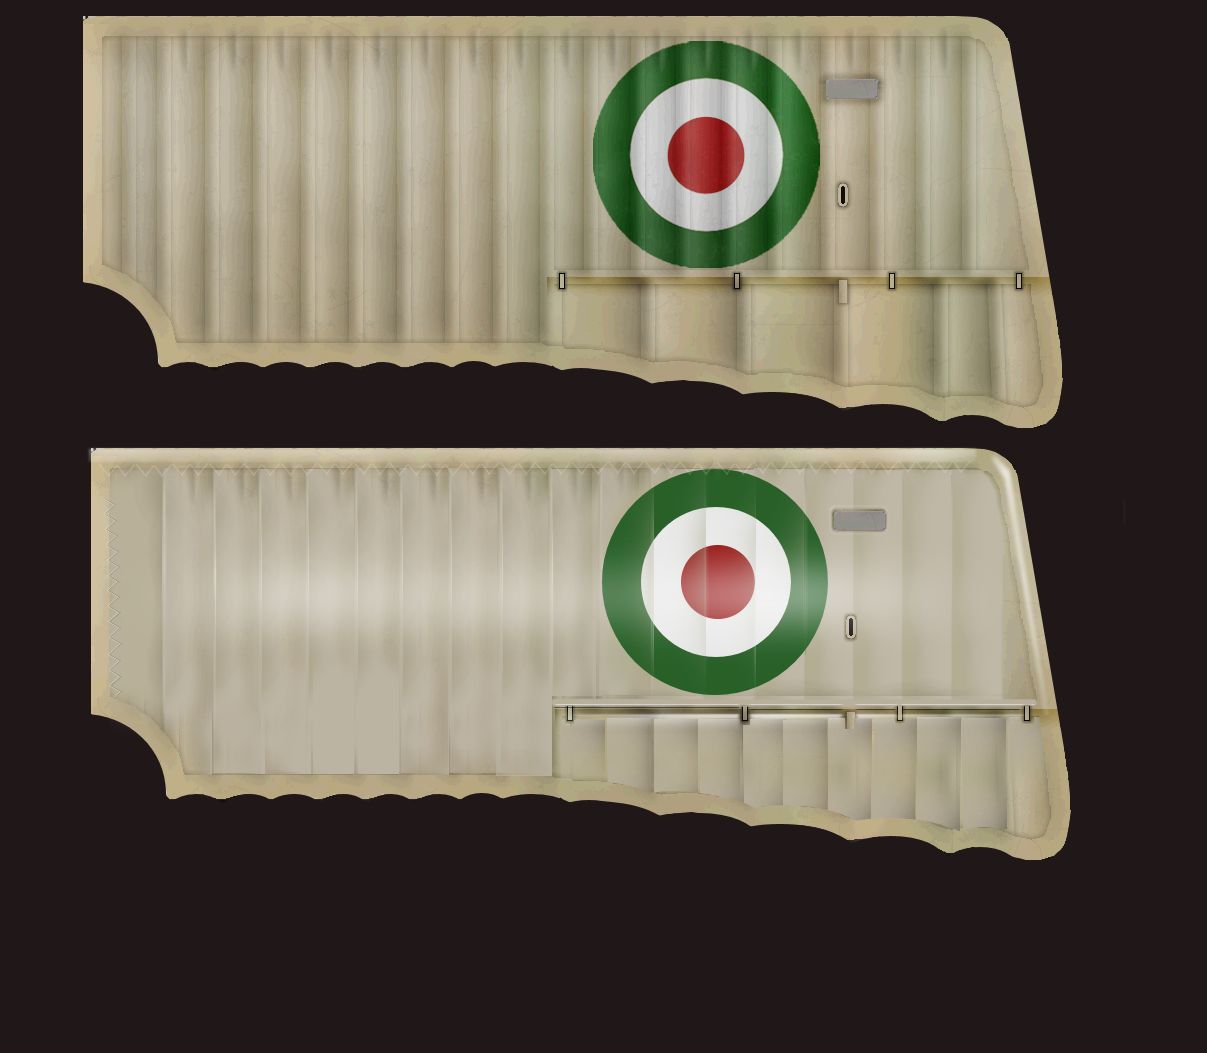
in reviewing the textures Mario sent me... I noticed that the ribbing is WAY TOO thick... the wings look like a corrugated zinc roof...
if a wing were like that... the plane just would not get off the ground... the amount of parasitic eddy currents generated by such a surface
would really impede lift to a great extent... also... the leading the top wing leading edge on the cockpit is scalloped... not very aerodynamic either... the leading edge has to be as straight and smooth as possible so the initial airlift flow is smooth... (the texture wings are smooth edged.. and OK)
However.... on doped fabric surfaces the highest point is the rib... so THERE is where light shines most.. and then the surface smoothly darkens
as it goes down to the sort of minimal trough created between the ribs... this high point point has to be very SUBTLY represented...
in all... albeit the wing surface not being perfectly flat it is not too terribly scalloped at all...
notice the difference on the reworked pic I am enclosing... that is what you would want it to look like...
The sides of the plane seem to be wooden... so what are the little dots in it... nails? obviously cannot be rivets... and if they are screws
there are nightmarishly hundreds of them... lol
G. (not t'incazzare Manuele.... io sto solo scherzando)


 CFS2
CFS2


Originally Posted by misson


Bookmarks