
 FS 2004
I wonder if it is a problem of settings in my flightsim.
Je me demande si il n y a pas un probleme de reglage dans mon
flightsim


I wonder if it is a problem of settings in my flightsim.
Je me demande si il n y a pas un probleme de reglage dans mon
flightsim
Peut-être .... mais où dans le settings de la sim doit cette reglage etre fait ?Originally Posted by michaelvader

Gooood moooorning Carlos,
si je le savais!
J ais essaye de changer des reglages dans la fs9.cfg, comme aussi sur les reglages d affichages dans le flightsim
(display settings).
Je me demande si on ne devrait pas faire un nouveau thread pour ca.
Ce matin je suis tres tres heureux - apres quatre ans de travail de restauration j ais fait les premiers tours de roue avec ma moto, un bonne vieille yamaha 600 XT Tenere- good old heavy metal, LOL
Je crois qu'un nouveau thread pourrait être plus efficace et nous pouvons toujours utiliser ce thread pour échanger des informations et tableaux sur notre projet.
Mais, ton probleme dois être discute' en Anglais pour attirer des experts...
Attention maintenant! ... la moto est une chose dangereuse ... lol
À bientôt
Carlos

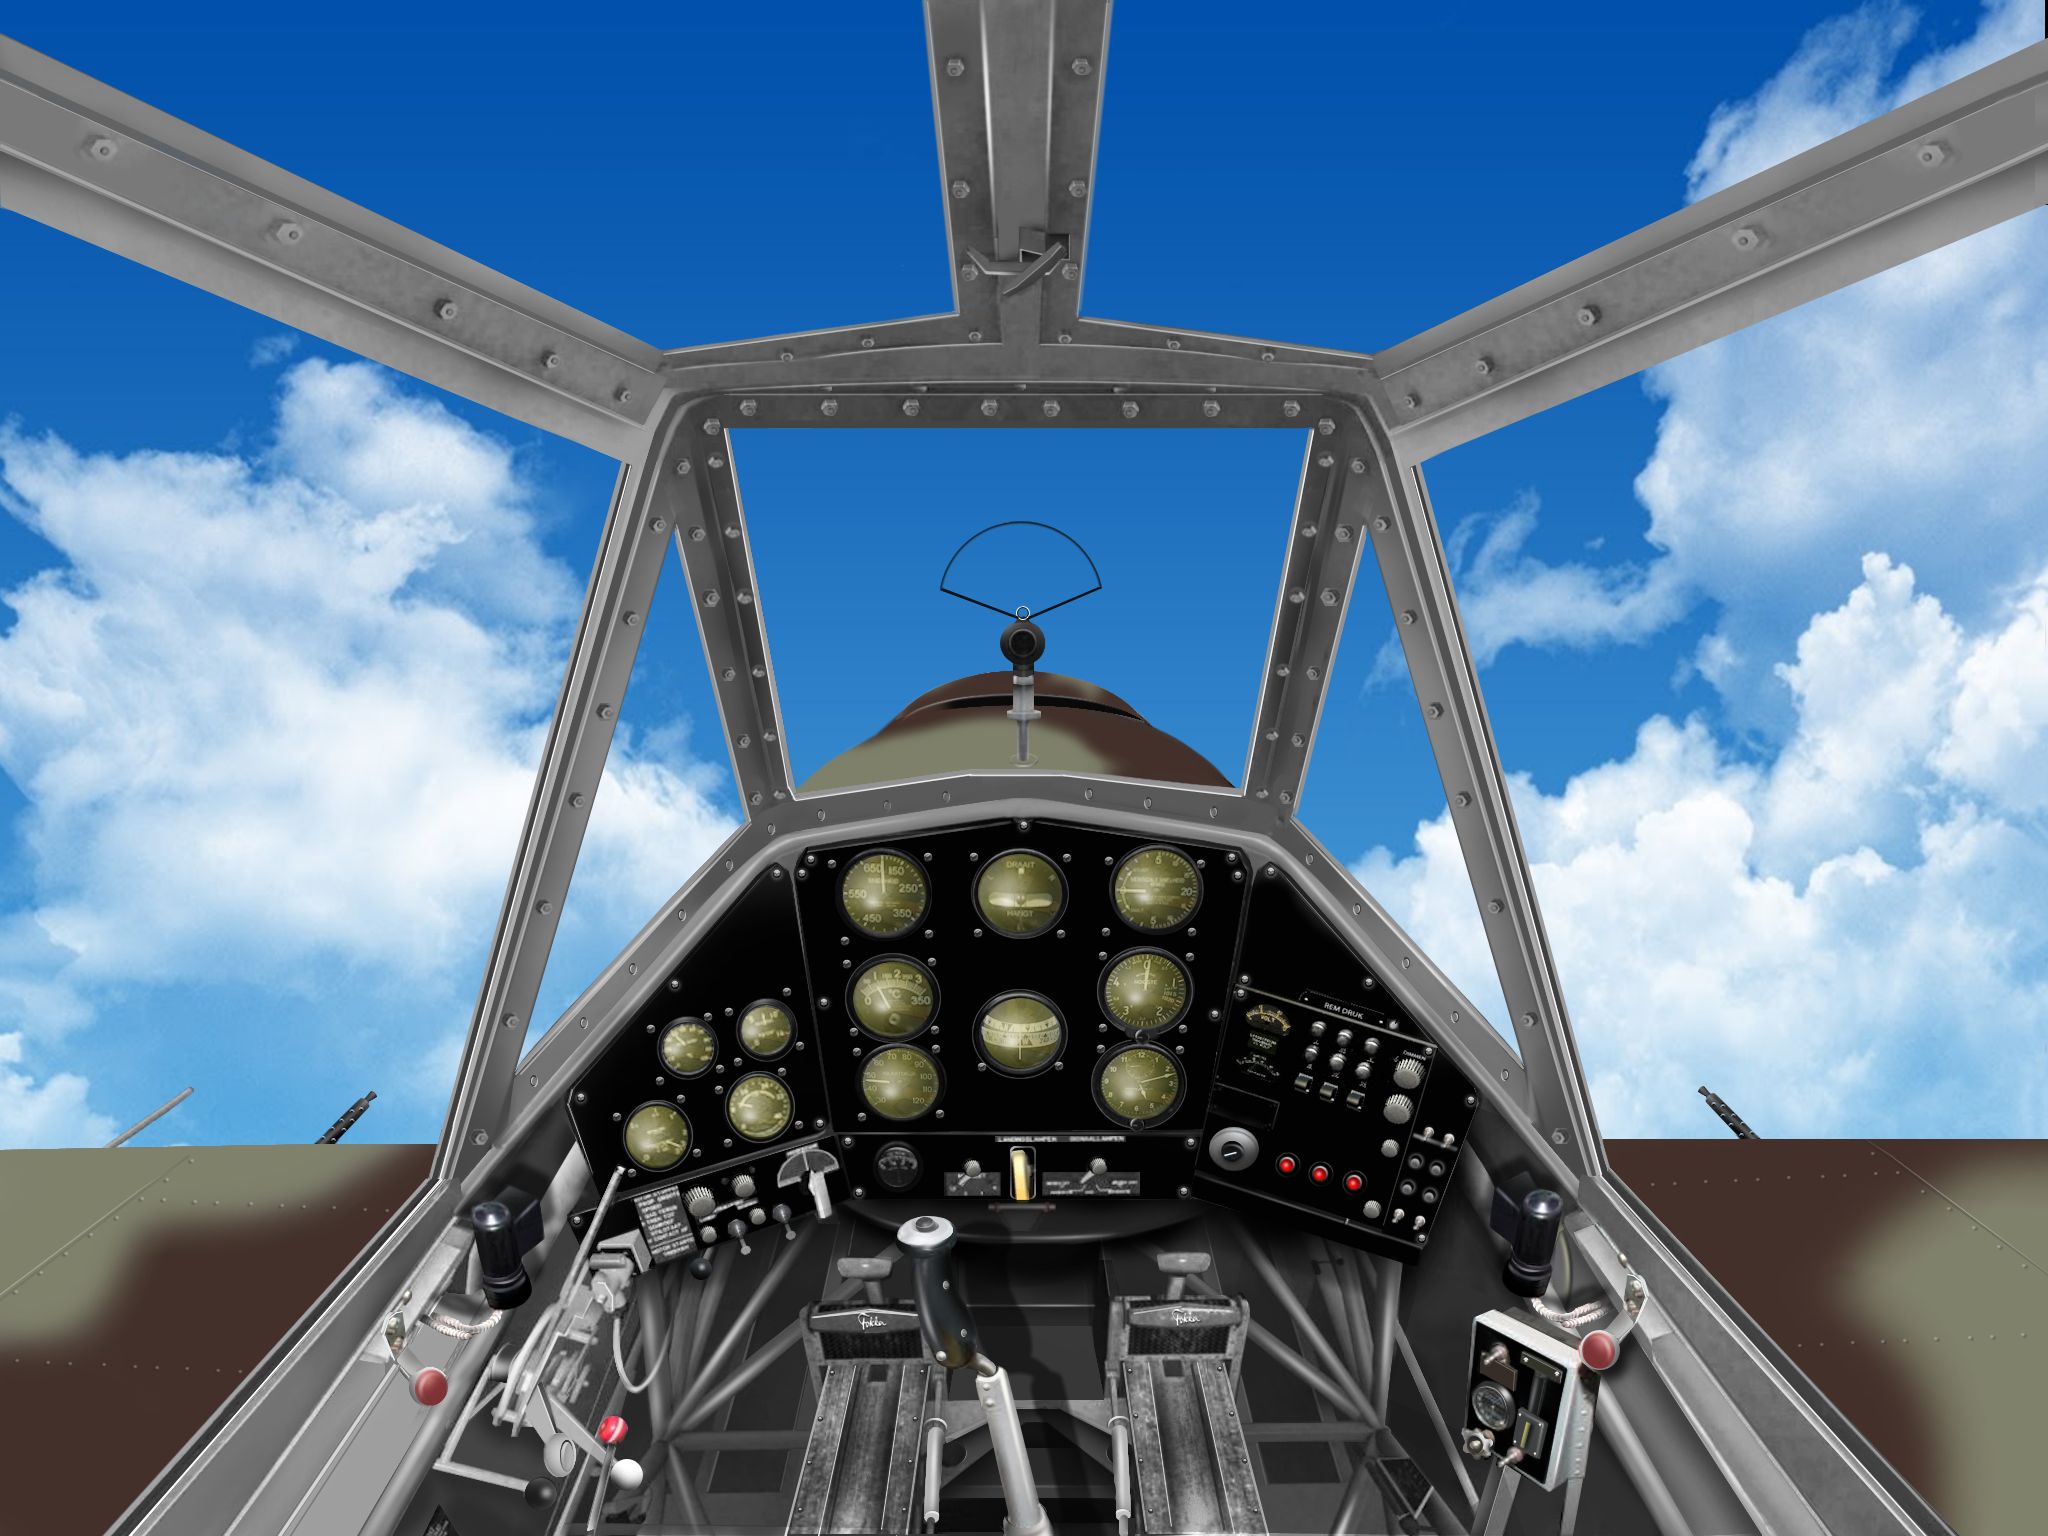
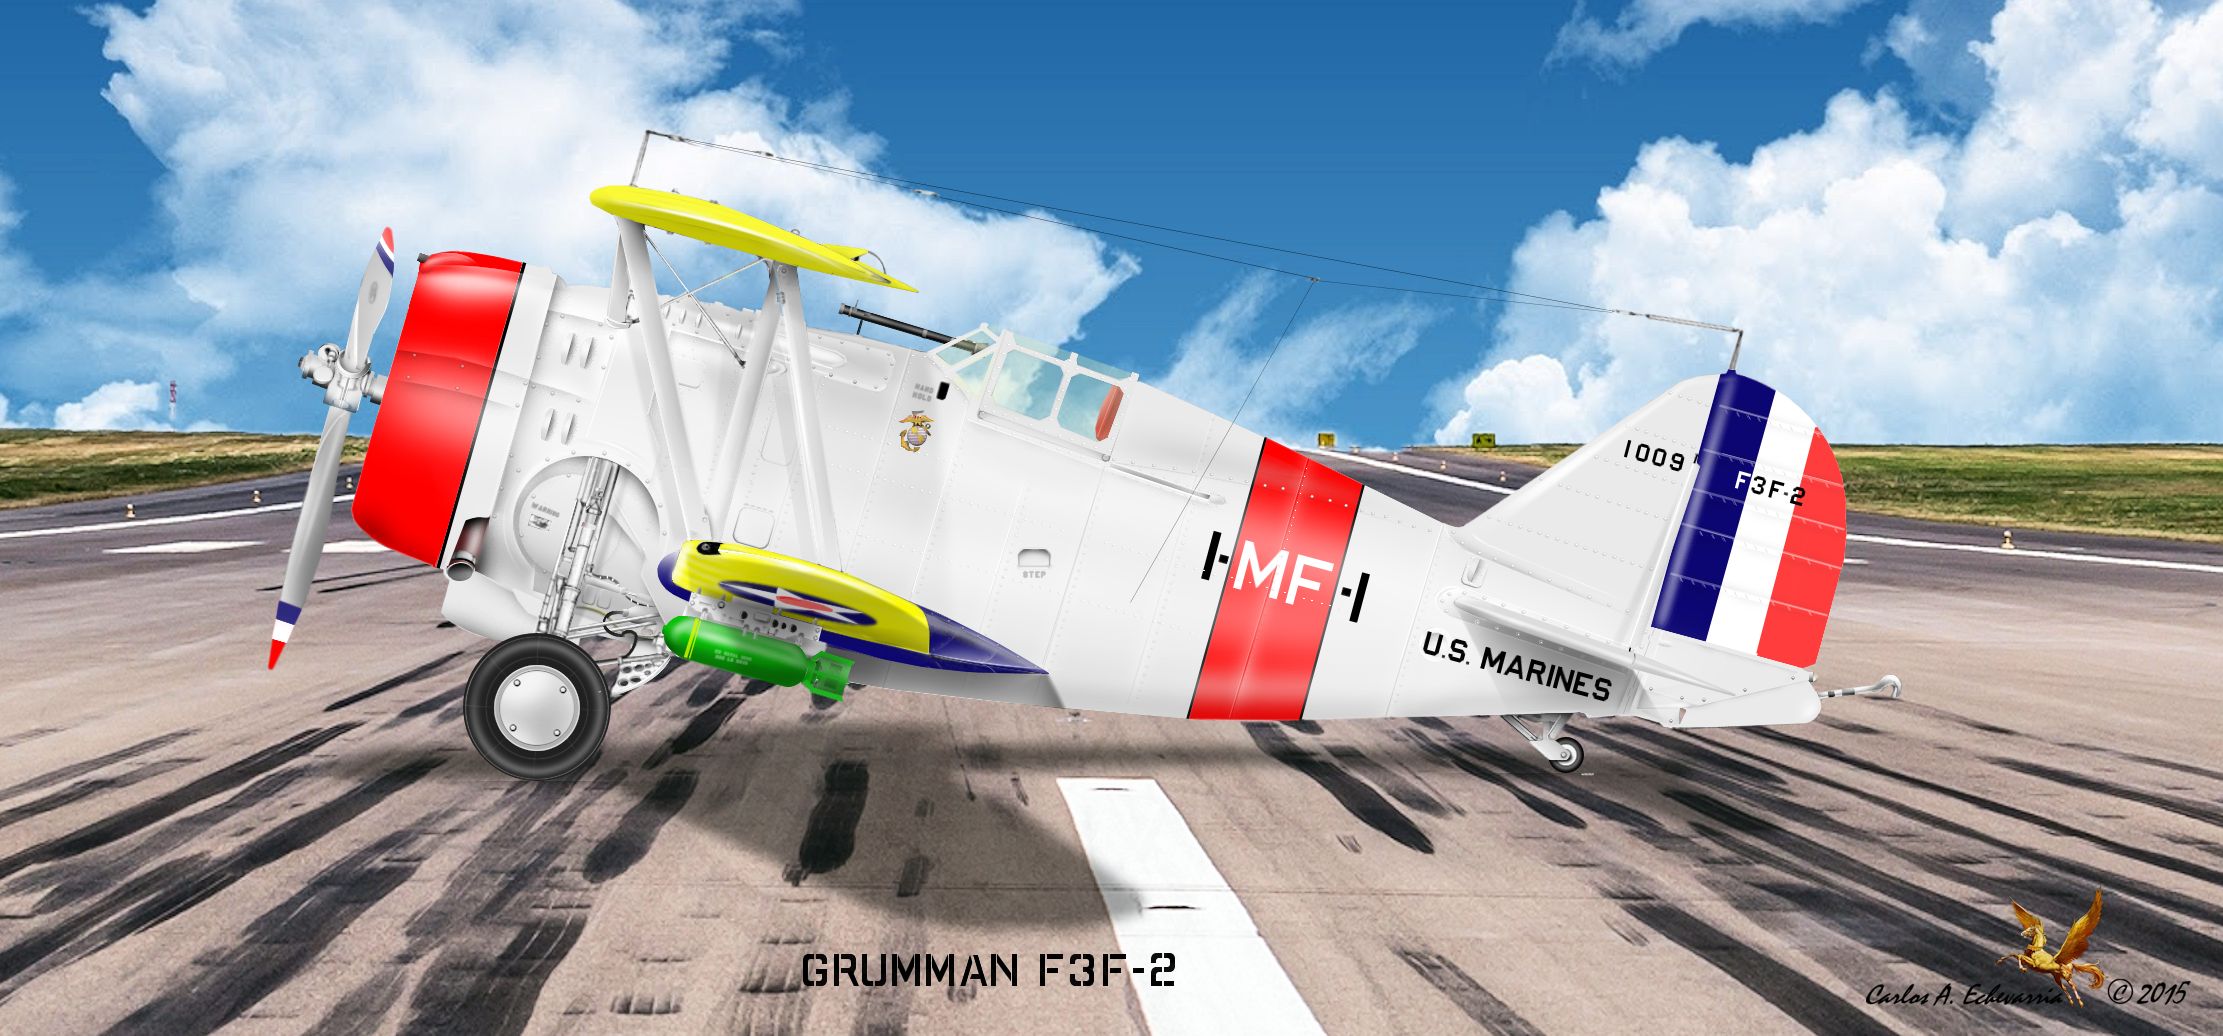
A second look at the Fokker 21...
Available as usual...
Tschüss,
Carlos
G.
Available as usual...
G.

Available as usual...
G.

Available as usual...
G.
Available as usual...
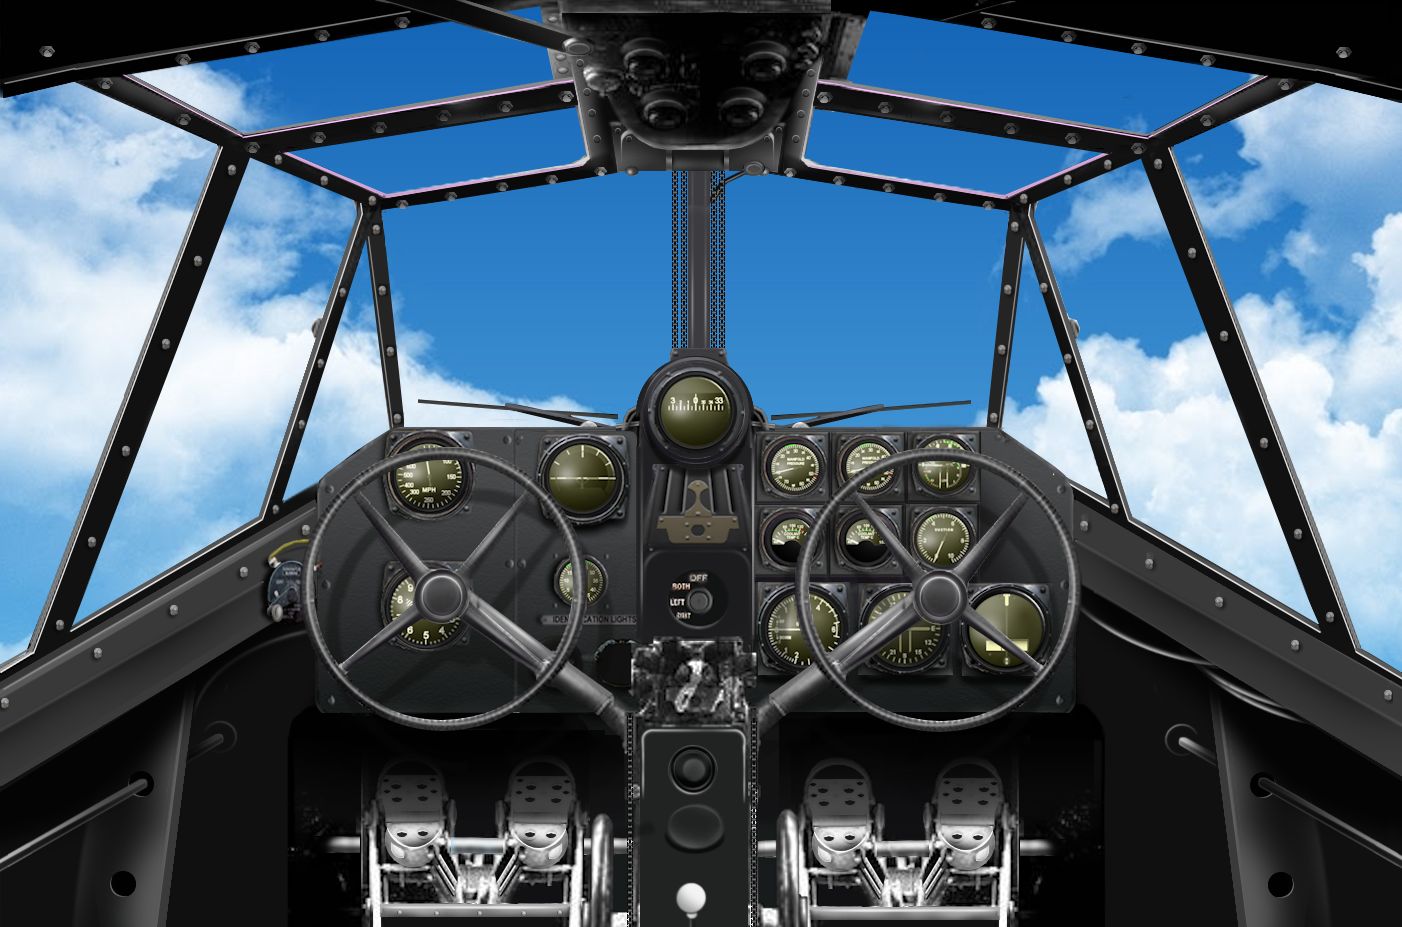
P.S: yoke and control wheels are on separate bmp files suitable for use as pop-ups.... (as they obscure instruments)... instrument faces are changeable too...

Last edited by gaucho_59; May 13th, 2015 at 17:43. Reason: addendum
Available as usual...
G.
Available as usual...
G.
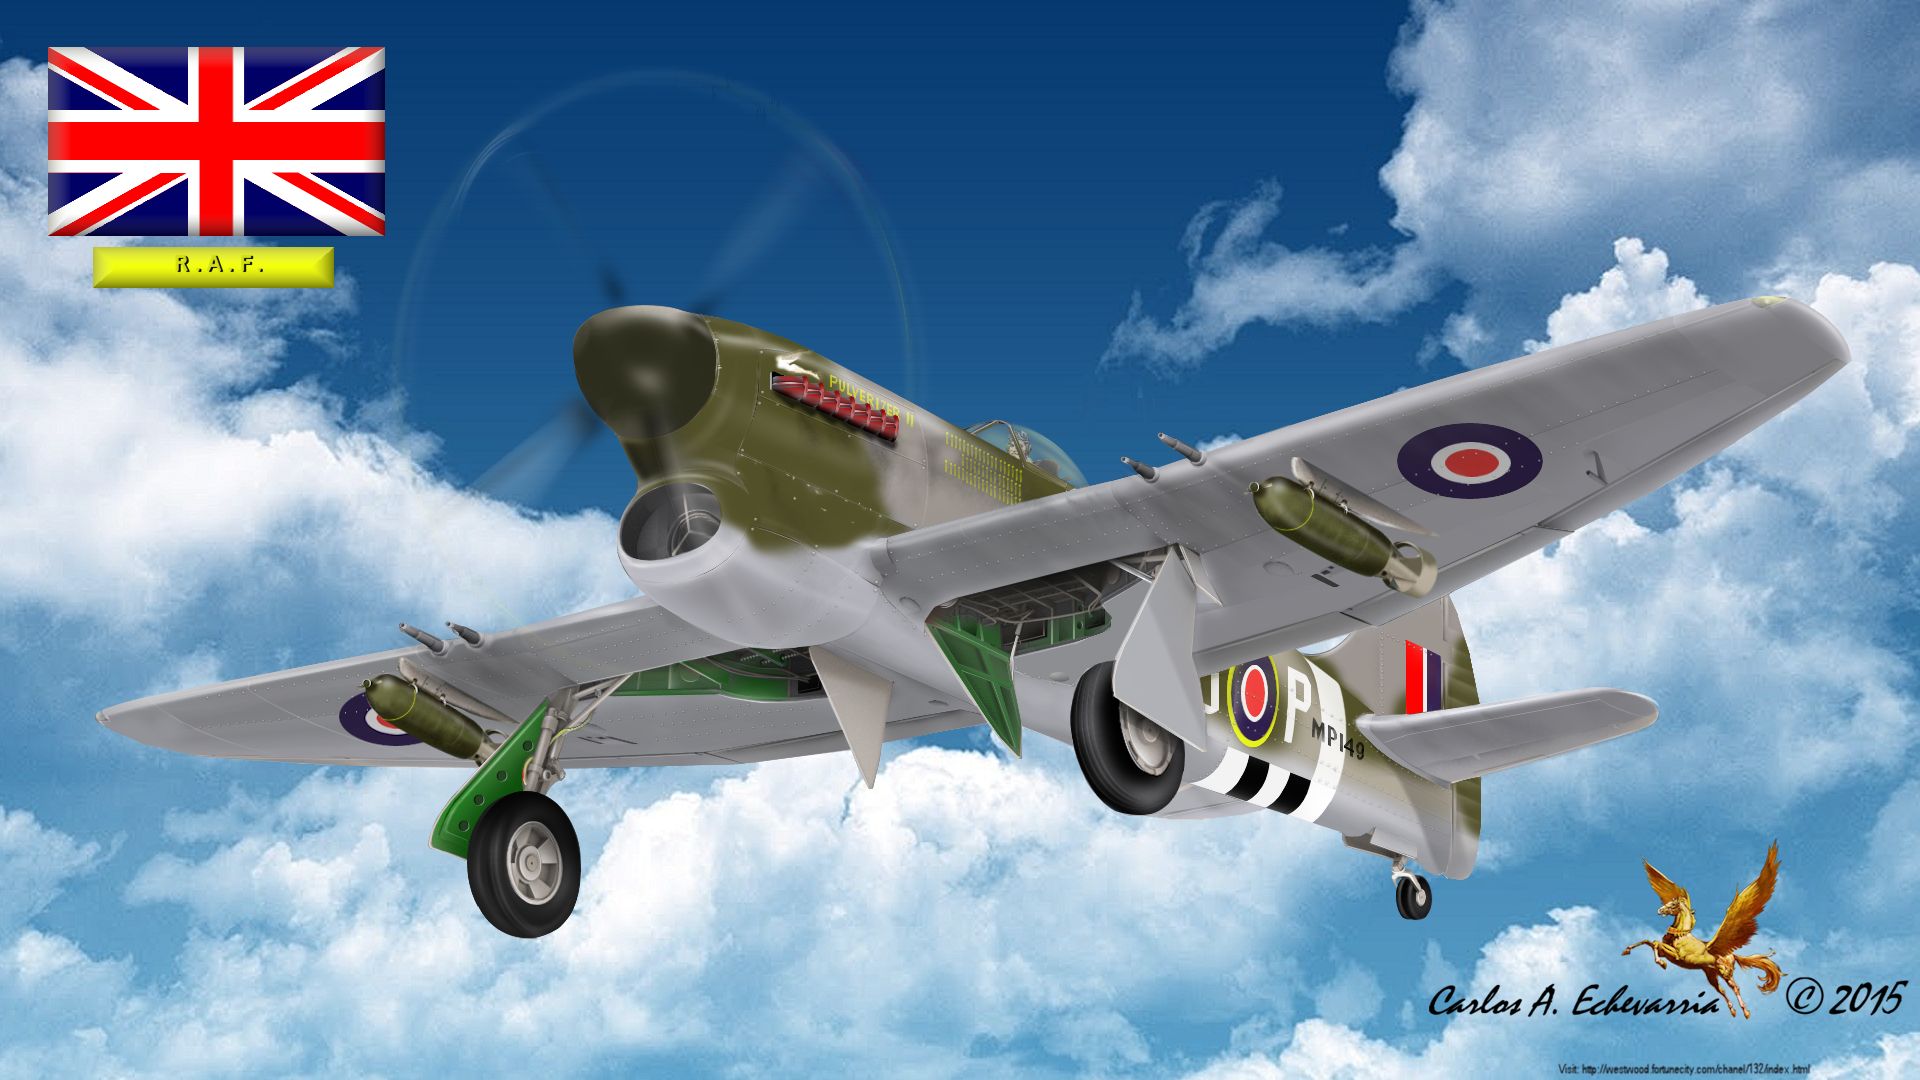
One thing worth noting though... in my humblest opinion... is the fact that in real life nothing is duplicated exactly and identically...
To add a little bit of that magic of creating an illusion of surface texture, depth, play of light and shadows, etc. I think that
one needs to randomize effects so as to emulate "real life" as much as the artist can...
Inspired by TF's wonderful work on surface details... I just cooked up a quick and dirty pic. of what I mean...
To wit:
I hope this is seen in the light of adding yet another technique to otherwise immaculately clean technical skills and helps someone create even more awesome things... rather
than just another "rivet counting" type of criticism...
G.
I already posted this comment in your thread, but in case you didn't catch in there...
Caro Gius,
Gran bella addizione! nonostante, penso che potresti fare delle migliorie... in quanto l'autore originale ha fatto
degli errori col texturing... Penso sia meglio incominciare da capo... senza che gli errori comessi in anteprima
vengano replicati...
Specie nelle ali, ci sono delle aree che non vano bene... non torto tuo ma dal autore originale...
Nel esempio aggiunto,
nota bene che ho eliminato delle forme discrete dal originale in maniera che non vengano viste dopo...(i.e: l'elevazione di pianta dalla coda)
Se come molto spesso le texture non corrispondono essatamente ai limiti del modello... allora lasciando
queste forme fuori... ottengono una finitura piu omogenea...
Insomma, questo esempio e' ai primi passi di una rifatta... mancano ancora molte cose... weathering... panels...
dettagli di superficie, etc. ma penso rendono l'idea di quello che cerco di spiegare...
Come sempre, resto a tua disposizione per ogni chiarimento, aiuto, etc.
Vedi se ci possiamo "vedere" con lo Skype...
Ciao per ora,
Carlos
Loosely translated for those who do not speak Italian but might benefit... Often textures do no meet exactly the limits shown by discrete shapes... so you get
weird effects where textures "wrap" around shapes... so as not to repeat the mistakes of the original author... when you do a repaint... it is better to start from
scratch, so to say, and leave discrete shapes aside for general background colors (in this case the metal finish) only putting in shaping shades, panel lines,
surface details, etc. as the texture will automatically will wrap without unsightly weird overlaps, etc. And you get a smoother end result...
Here is an example of what can be done with line drawings as a starting point for
profiles and/or textures.... it adds enormously to the faithfulness of shape, details, etc.
to wit:
Cheers,
G.

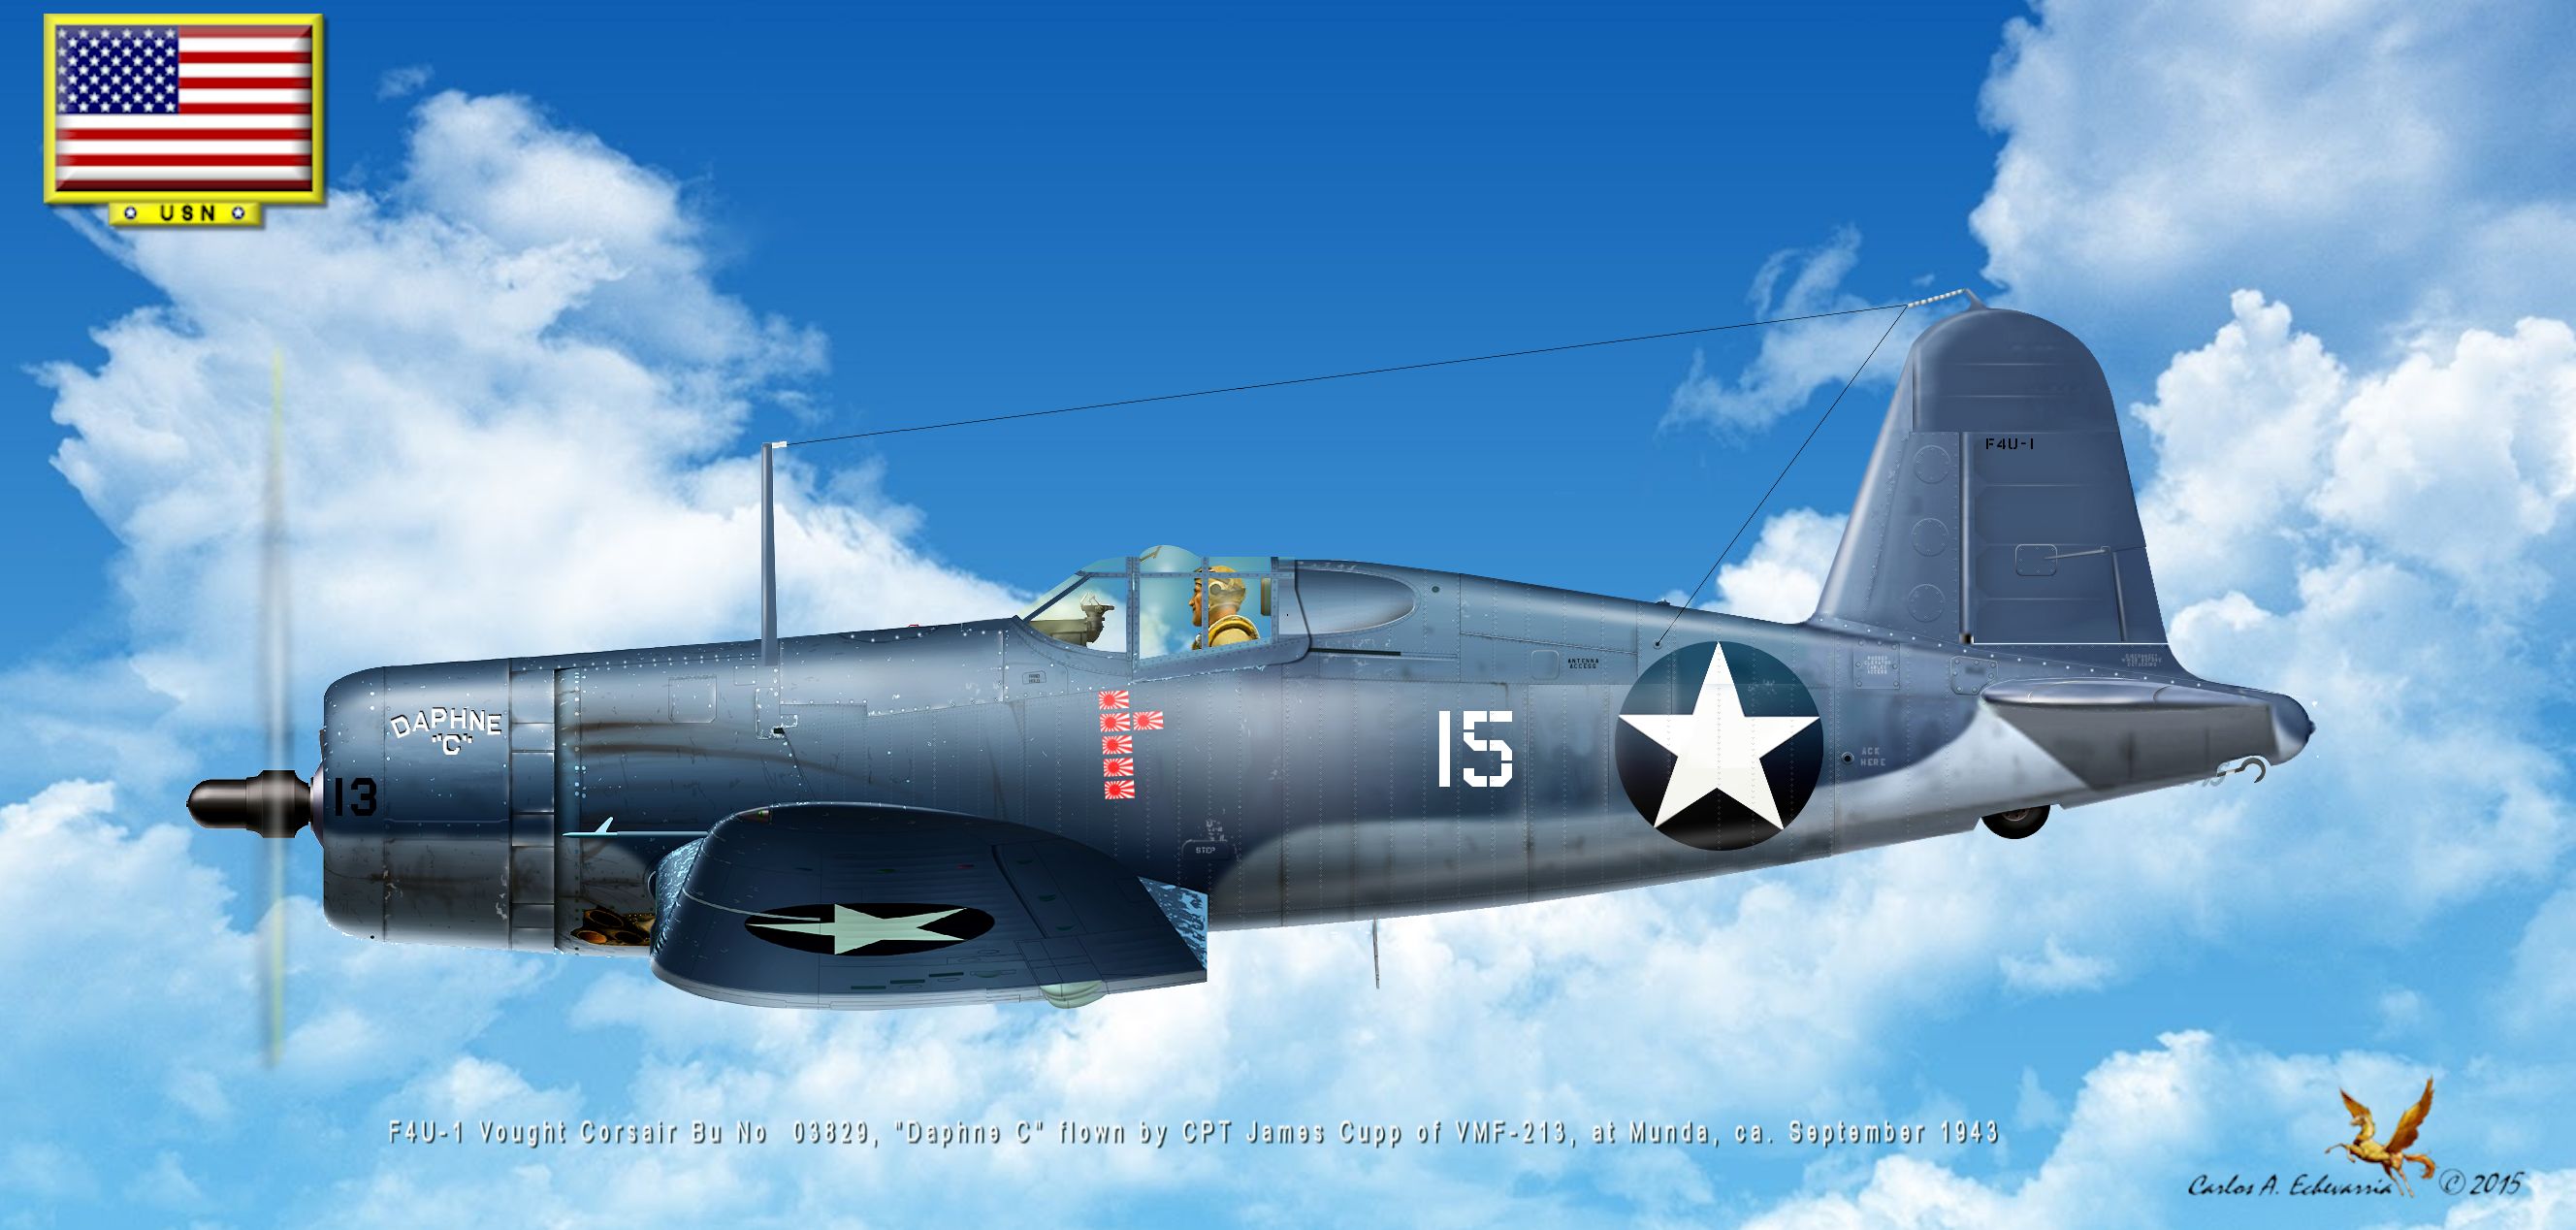
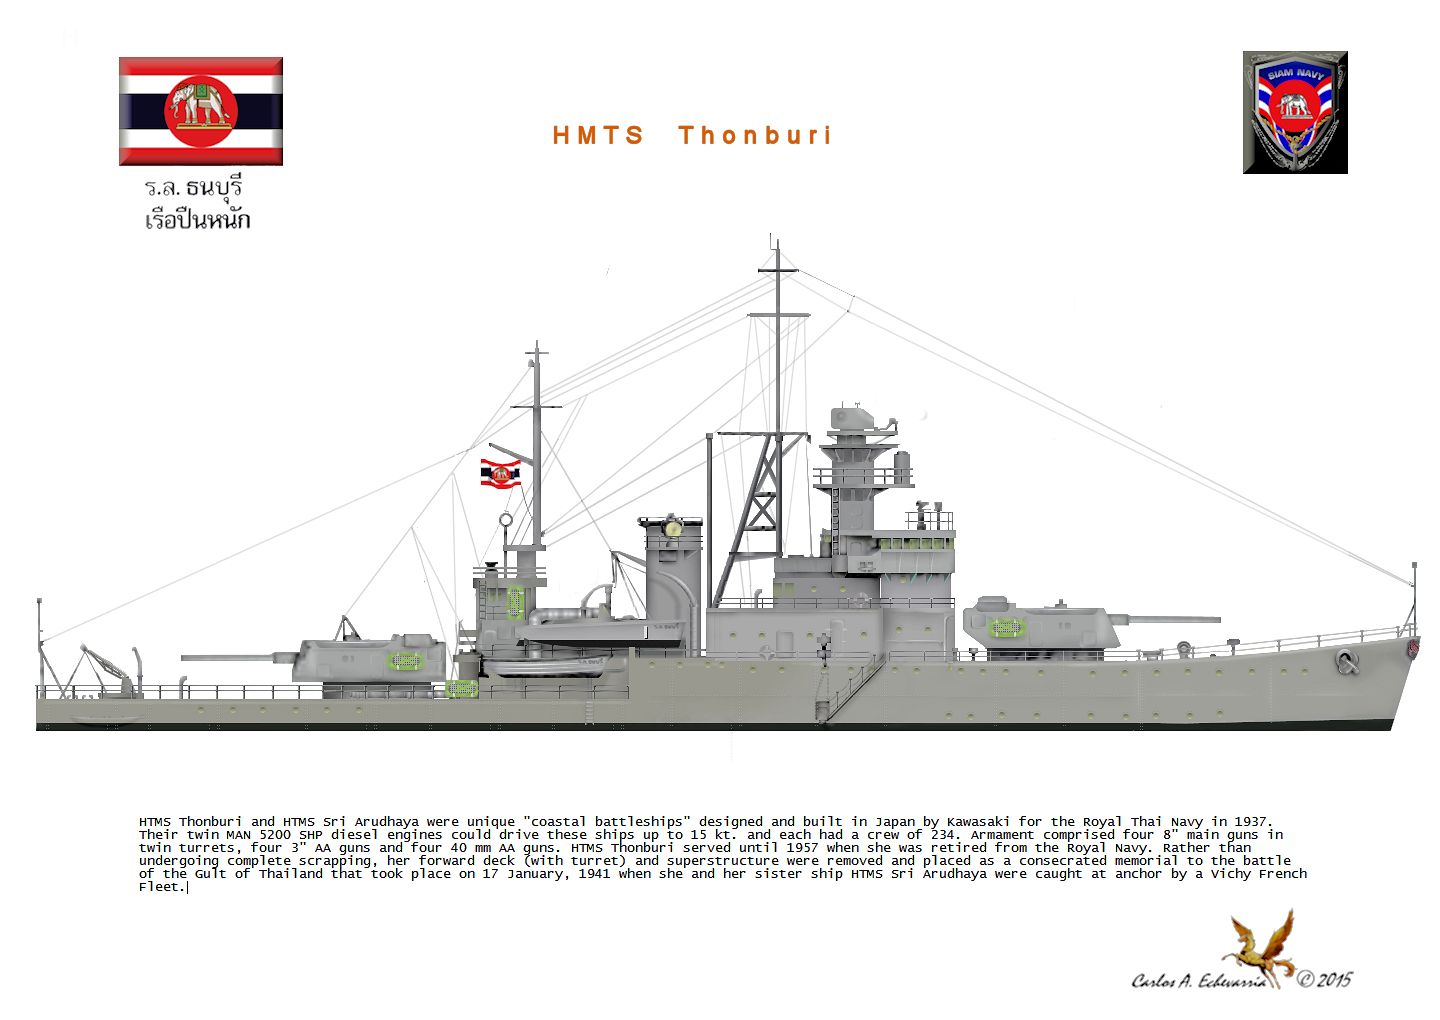
Here is another addition for the '30s biplanes...
Available as usual...
Just to be different from profile art for a change...
H
You clever ol' so-and-so!
These two ac are superb, great to see someone take something like the 2D drawing and make it into a 3D style pic,...great e-artwork.....
Cheers
Shessi
It is really fun seeing this things take form with a little color and patience...
btw... when are the latter PBY marks coming out of the oven?
Cheers,
G.
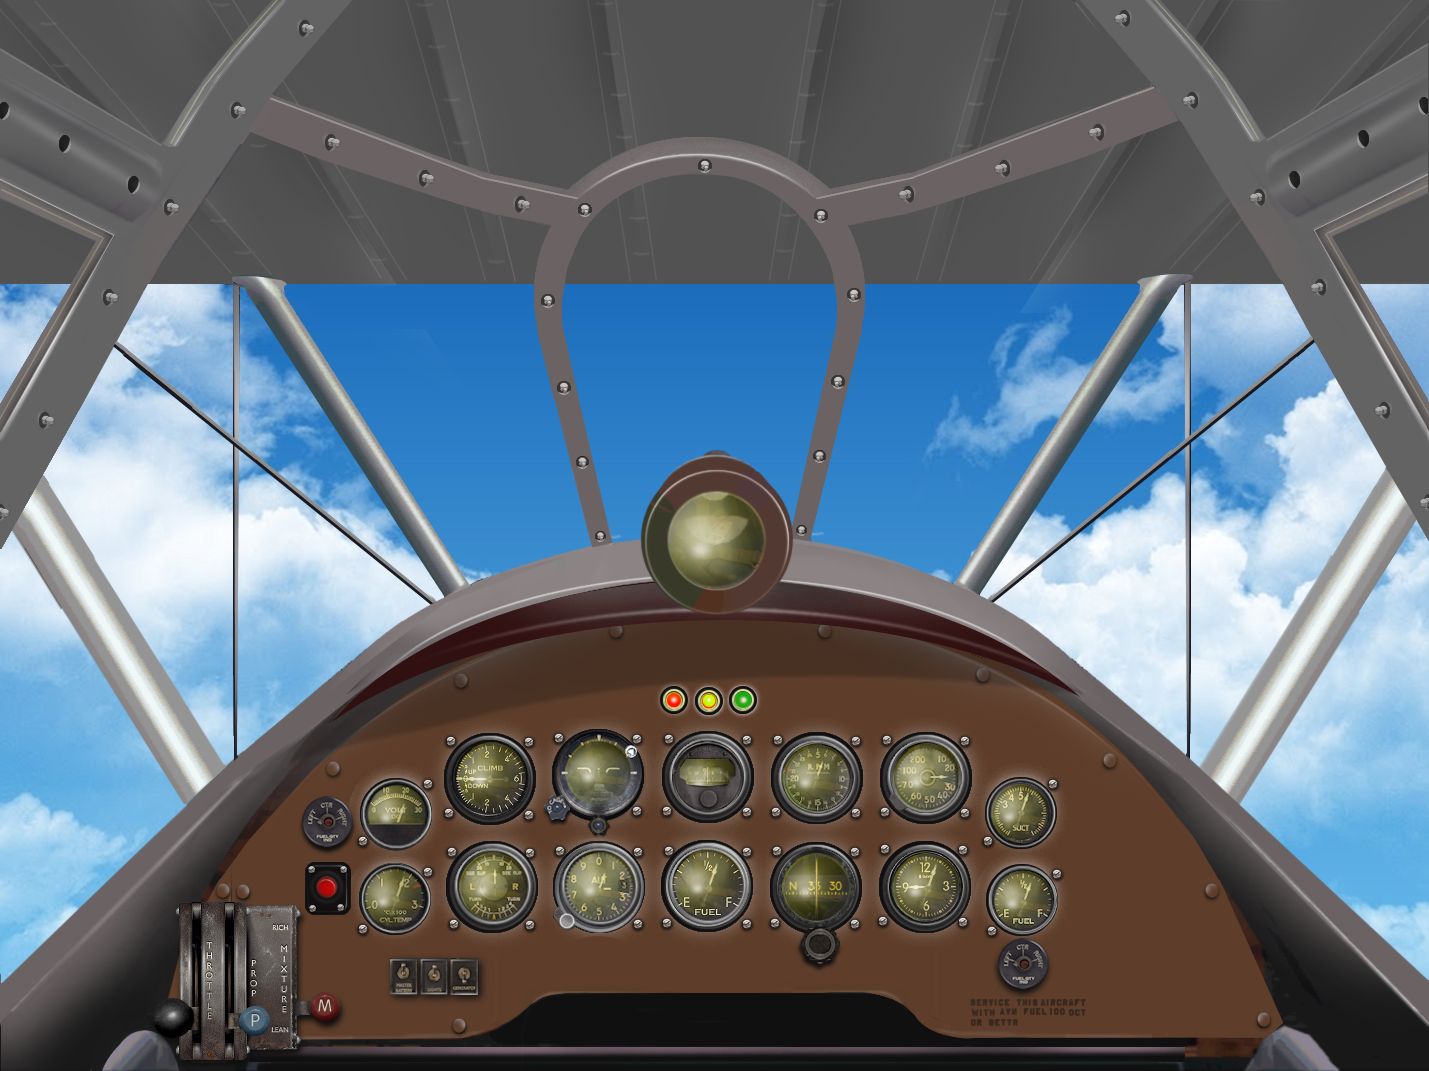
Comments, suggestions, etc. welcome.... available as usual... with yoke and throttle box as pop up bmps
Cheers,
G.

Hi Gaucho,
This is the Real P.108 Panel :
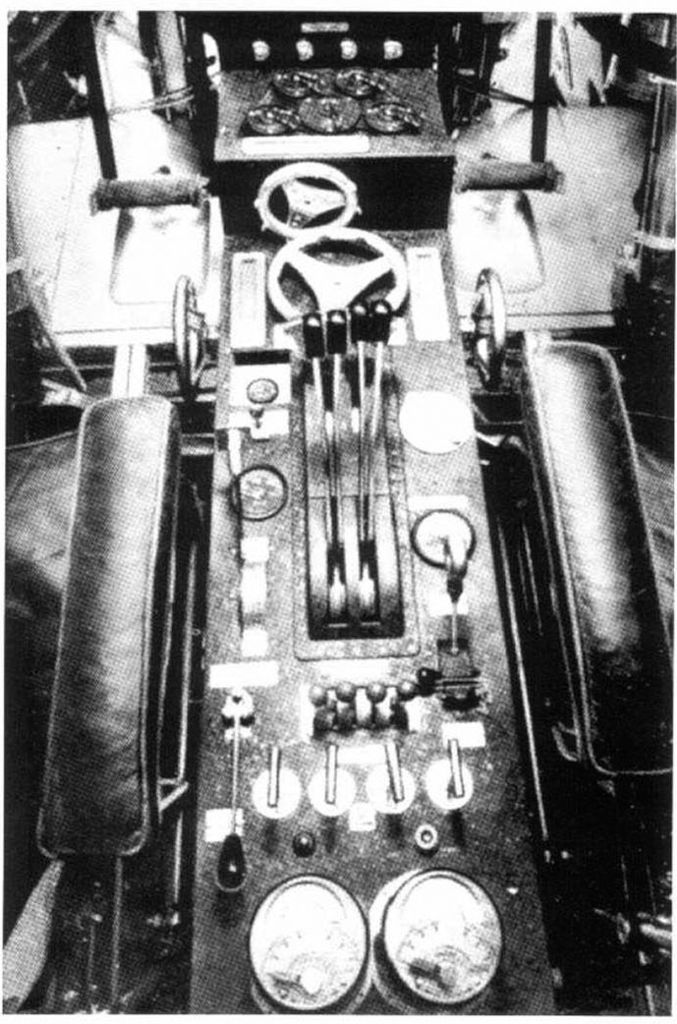
With these photos I can now do a proper panel... Do you have any photos of the interior of the cockpit... like
the bracing structure.. etc.
Thanks again Manuele,
G.
I found this bw photo... (identified as a P.108) and it is the one I used for the first redo.... As you can see it is
very different from the one you so kindly provided... what is it? Are there more than one
version of the big bomber?.... I noticed in your photos that the seats are different in some
of the photos... obviously not belonging to the same aircraft... Moreover, the yokes are different...
Also, noticed that the your photos show a more restricted cockpit space... the enclosed
photo shows a rather spacious cockpit... Do you know why the differences...
I also noticed there was a cargo version of the aircraft... Please provide info if you got it...
Thanks in advance,
G.
Hi Carlos,
This is a video of P.108's first flight :
https://www.youtube.com/watch?v=MG99iXNIchE
However the pic You used is from the "T" (Trasporto) version, the first Italian "wide-body" cargo/passenger plane.
The bomber's cockpit was indeed completely different. Piaggio built only 24 P.108B (Bomber) and 11 P.108T (Trasporto), the Ts were used in operations ONLY by Luftwaffe.
This is a pic of Bruno Mussolini during the "T" prototype tests, You can see the Caproni-Lanciani turret's control wheel.
This is a pic of the Bruno Mussolini's P.108B cockpit (at A.M.I. Museum), the yoke deformation is due to the accident that killed B.M.
The pics I uploaded are all from the original R.A. Piaggio P.108B (bomber) user's manual, probably the pics are from the prototype or a pre-production a/c. The yokes used in production a/c were the same used in the Cant.Z.506B built by Piaggio (I used them in the PW version).
Unfortunately I don't have T's manuals....

 Members who have read this thread: 35
 Posting Permissions

 Reply With Quote


Bookmarks